Introduction
Halloween Dirt Cake: A Spooktacular Treat!
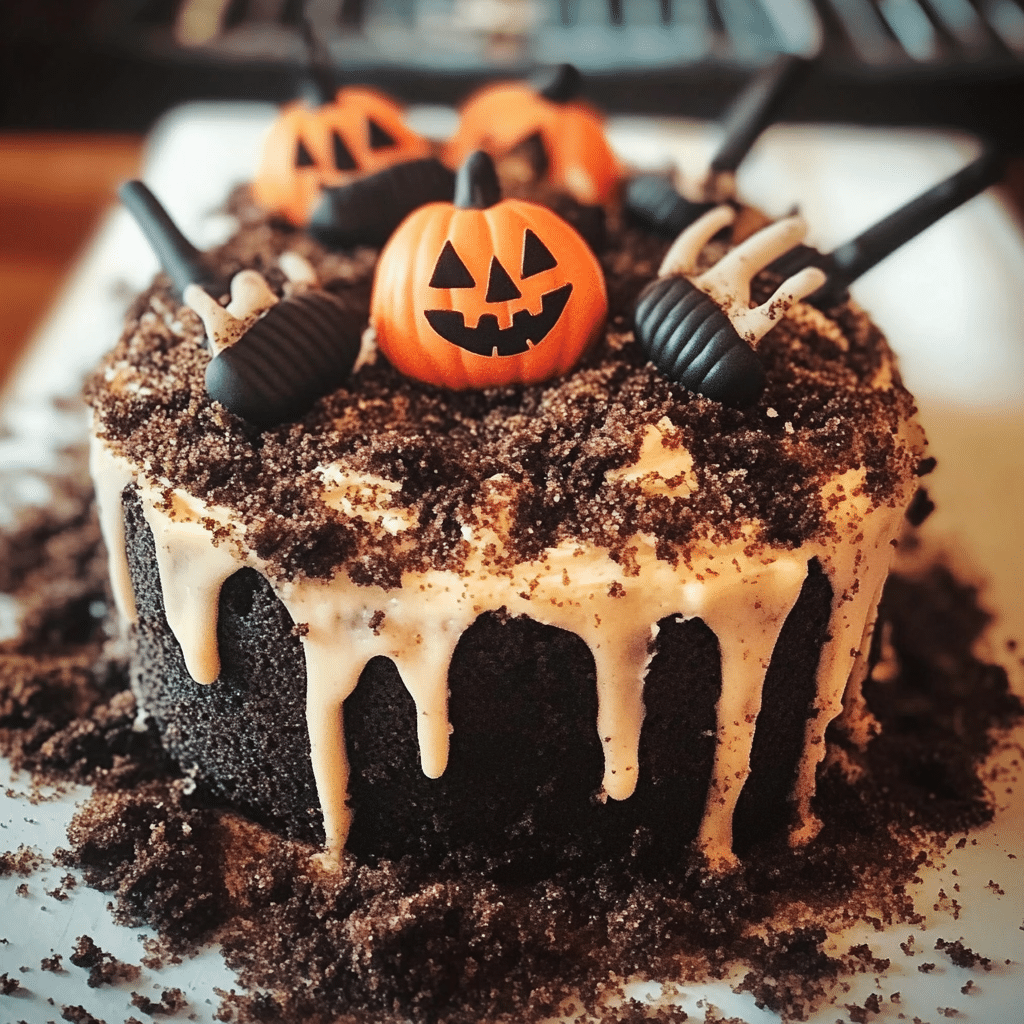
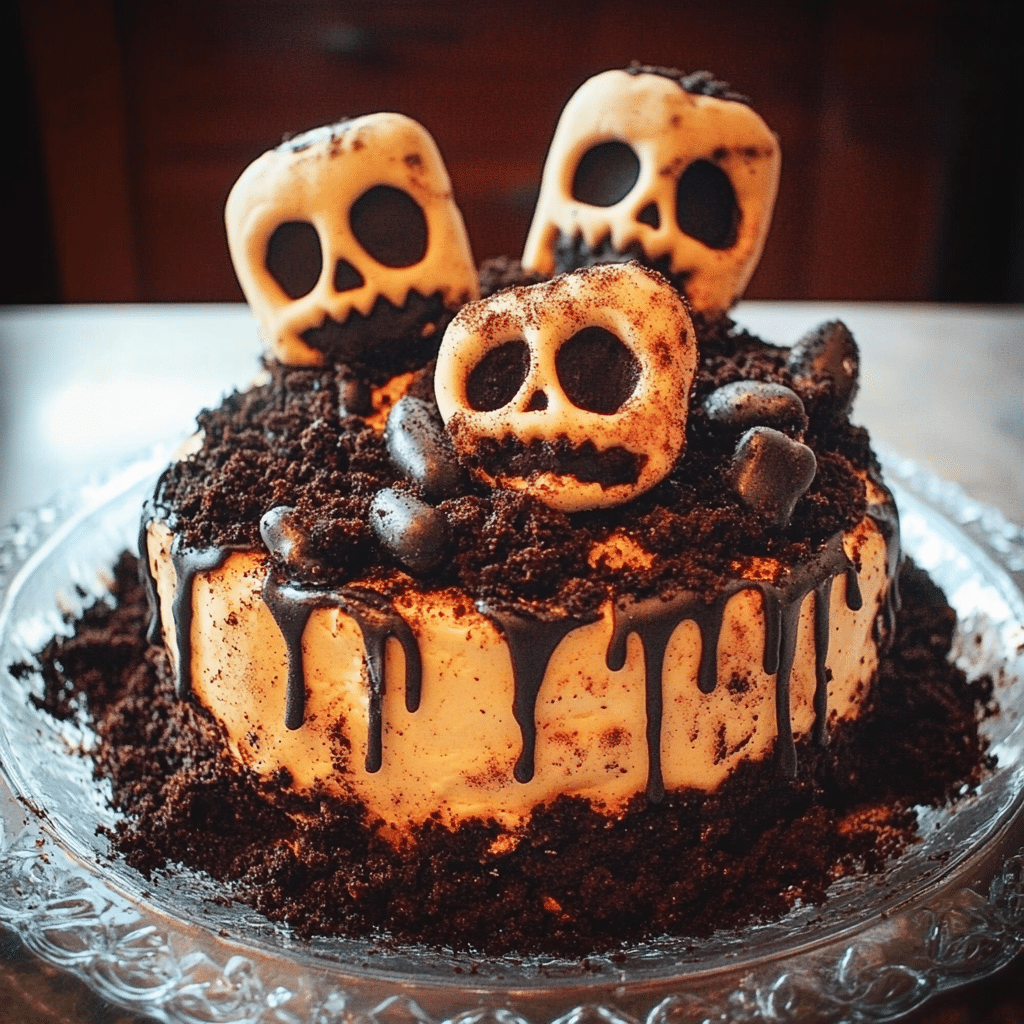
Hey there, friend! Are you ready to whip up something delightfully spooky for Halloween? I’ve got just the treat for you—Halloween Dirt Cake! This dessert is not only a feast for the taste buds, but it’s also a playful, fun way to get into the Halloween spirit. Imagine layers of rich chocolate cake paired with creamy pudding, all topped off with crushed cookies that look just like dirt and gummy worms squirming around for that perfect touch of fright!
What I love about this recipe is how simple it is to make, even if you’re new to baking. Trust me, you don’t need to be a pro in the kitchen to create something magical. The layers come together quickly, and the kids can help with the decorating—how fun is that? It’s a great way to spend some quality time together while crafting a delicious dessert.
I remember making this with my family when I was little. My mom would always let me sprinkle the “dirt” on top, and we’d giggle as we added the gummy worms. It quickly became a tradition, and now it’s a staple at our Halloween parties. Whether you’re hosting a spooky gathering or just want a fun dessert for movie night, this dirt cake is sure to impress. So, roll up your sleeves, grab your mixing bowls, and let’s dive into this tasty Halloween adventure together! It’s time to create some delicious memories!
Why You’ll Love This Recipe
Here are just a few reasons to love Halloween Dirt Cake:
- Visually Fun: It’s a dessert that looks like dirt, but tastes like heaven!
- Easy to Make: With simple steps, it’s a great choice for bakers of all ages.
- No Baking Required: Perfect for when you want something quick and easy.
- Customizable: You can change the toppings based on your preferences.
- Family-Friendly: Kids love helping to layer and decorate this fun dessert.
- Perfect for Halloween: It’s festive and fits right in with the holiday theme.
- Delicious Layers: The combination of cake, pudding, and cookies is unbeatable.
- Great for Sharing: This cake is easy to serve at parties and gatherings.
- Satisfies a Sweet Tooth: The chocolate flavor is sure to please everyone.
- Fun Textures: The mix of creamy and crunchy makes each bite exciting.
Preparation Time
- Total Time: 2 hours (includes chilling)
- Preparation Time: 30 minutes
- Chill Time: 1.5 hours
- Servings: 10-12 servings
- Calories per serving: Approximately 250 calories
- Key Nutrients: Sugar: 18g, Fat: 10g, Carbohydrates: 30g, Protein: 4g
Ingredients
Gather these ingredients to create your Halloween Dirt Cake:
For the Cake:
- 1 package (15.25 oz) chocolate cake mix
- Ingredients required to make the cake (usually water, oil, and eggs)
the Pudding Layer:
- 1 package (3.9 oz) instant chocolate pudding mix
- 2 cups milk
For the Dirt Layer:
- 1 package (15 oz) Oreo cookies (or chocolate sandwich cookies), crushed
- 1 cup whipped topping (Cool Whip)
Decoration:
- Gummy worms
- Optional: Candy pumpkins, chocolate spiders, or edible decorations
Ingredient Highlights
- Chocolate Cake: Forms the delicious base of this dessert.
- Instant Pudding: Adds a creamy layer that enhances the overall flavor.
- Oreo Cookies: Creates the “dirt” layer, giving texture and taste.
- Whipped Topping: Adds a light and airy feel to the dessert.
Step-by-Step Instructions
Follow these steps to create your Halloween Dirt Cake:
Prepare the Chocolate Cake
- Bake the Cake: Preheat your oven according to the package instructions. Prepare the chocolate cake mix as directed on the package and bake it in a 9×13-inch baking pan. Allow it to cool completely after baking.
Prepare the Pudding Layer
- Make the Pudding: In a medium bowl, whisk together the instant chocolate pudding mix and milk until smooth. Let it sit for about 5 minutes to thicken.
Assemble the Dirt Cake
- Crush the Oreos: While the pudding is thickening, place the Oreo cookies in a plastic bag and crush them into fine crumbs using a rolling pin or a mallet.
- Layer the Ingredients: Once the cake is cooled, crumble it into the bottom of a large serving dish or individual cups. Then, layer half of the pudding over the cake.
- Add the Whipped Topping: Spread half of the whipped topping over the pudding layer, followed by half of the crushed Oreo cookies.
- Repeat the Layers: Repeat the layers with the remaining cake, pudding, whipped topping, and crushed cookies.
Decorate the Cake
- Top with Gummy Worms: Scatter gummy worms over the top layer of crushed cookies to give it an extra spooky touch.
- Add Optional Decorations: If desired, add candy pumpkins or chocolate spiders for added Halloween flair.
Chill and Serve
- Chill the Cake: Cover the dessert and refrigerate for at least 1.5 hours to allow the flavors to meld.
- Serve: When ready to serve, scoop out portions and enjoy your Halloween Dirt Cake!
How to Serve
Here are some fun serving ideas for your Halloween Dirt Cake:
- In Individual Cups: Serve in clear plastic cups for a fun and portable option.
- Layered in a Trifle Dish: Use a trifle dish to showcase the layers.
- Top with Extra Worms: Add extra gummy worms on top for decoration before serving.
- Fun Utensils: Use spooky-themed spoons or forks for serving.
- Party Plates: Serve on Halloween-themed plates for added fun.
- With Whipped Cream: Add a dollop of whipped cream on top of each serving.
- Scoop and Share: Use a large serving spoon for guests to scoop their own portions.
- Kid-Friendly Presentation: Create smaller servings for kids to enjoy.
- Garnish with Edible Glitter: For extra sparkle, sprinkle edible glitter on top.
- Serve with Drinks: Pair with themed drinks for a complete Halloween experience.
Additional Tips
Maximize your enjoyment of Halloween Dirt Cake with these helpful tips:
- Use High-Quality Cake Mix: Choose a good brand for the best flavor.
- Let Cake Cool Completely: Ensure the cake is completely cooled to avoid melting the pudding layer.
- Layer Carefully: Spoon the pudding and whipped topping slowly to keep the layers distinct.
- Chill Before Serving: Allowing it to chill enhances the flavors and texture.
- Decorate Creatively: Get creative with your Halloween decorations!
- Add Different Candies: Use a variety of candies to make it more festive.
- Taste Test the Layers: Make sure to taste each layer before assembling for the best flavor balance.
- Double the Recipe: Make a double batch if you’re serving a crowd.
- Store Leftovers: Keep any leftovers in the fridge for up to 3 days.
- Use Gluten-Free Cookies: For a gluten-free version, substitute with gluten-free cookies.
Recipe Variations
Consider these creative variations for your Halloween Dirt Cake:
- Flavored Pudding: Use vanilla or butterscotch pudding for a different twist.
- Different Cookie Types: Try using chocolate chip cookies or graham crackers for the dirt layer.
- Add Layers of Fruit: Layer in some crushed fruit, like strawberries, for a refreshing touch.
- Make It Spooky: Use green or purple food coloring in the whipped topping for a more Halloween vibe.
- Add Pumpkin Spice: Incorporate pumpkin spice into the pudding for a seasonal flavor.
- Use Non-Dairy Options: Substitute non-dairy milk and whipped topping for a dairy-free version.
- Add Peanut Butter: Swirl in peanut butter with the whipped topping for a nutty flavor.
- Create a Chocolate Layer: Use a layer of chocolate mousse instead of pudding for added richness.
- Add Nuts: Sprinkle some chopped nuts in between the layers for added crunch.
- Decorate with Meringue: Top with meringue instead of whipped topping for a different texture.
Freezing and Storage
Ensure proper storage to maintain the quality of your Halloween Dirt Cake:
- Storage: Store any leftovers in an airtight container in the refrigerator for up to 3 days.
- Freezing Not Recommended: Freezing may change the texture of the whipped topping and pudding.
- Keep It Cool: Always store in the fridge until ready to serve.
Special Equipment
You may need these kitchen tools to create your Halloween Dirt Cake:
- Mixing Bowls: For mixing the pudding and cake.
- Whisk: To mix the pudding and ensure it’s smooth.
- Serving Dish or Cups: For assembling and serving the dessert.
- Plastic Bag: For crushing the Oreos easily.
FAQ Section
Here are answers to common questions about Halloween Dirt Cake:
- Can I use homemade pudding?
Yes, you can use homemade pudding instead of instant for a richer flavor. - How long can I store the Dirt Cake?
It can be stored in the refrigerator for up to 3 days. - Can I make it a day in advance?
Absolutely! It actually tastes better after chilling overnight. - What if I can’t find gummy worms?
You can use any gummy candies or chocolates for decoration. - Can I layer more ingredients?
Yes! Feel free to get creative with layers and textures.

Halloween Dirt Cake
- Total Time: 2 hrs.
Ingredients
For the Cake:
- 1 package (15.25 oz) chocolate cake mix
- Ingredients required to make the cake (usually water, oil, and eggs)
For the Pudding Layer:
- 1 package (3.9 oz) instant chocolate pudding mix
- 2 cups milk
For the Dirt Layer:
- 1 package (15 oz) Oreo cookies (or chocolate sandwich cookies), crushed
- 1 cup whipped topping (Cool Whip)
For Decoration:
- Gummy worms
- Optional: Candy pumpkins, chocolate spiders, or edible decorations
Instructions
Prepare the Chocolate Cake
- Bake the Cake: Preheat your oven according to the package instructions. Prepare the chocolate cake mix as directed on the package and bake it in a 9×13-inch baking pan. Allow it to cool completely after baking.
Prepare the Pudding Layer
- Make the Pudding: In a medium bowl, whisk together the instant chocolate pudding mix and milk until smooth. Let it sit for about 5 minutes to thicken.
Assemble the Dirt Cake
- Crush the Oreos: While the pudding is thickening, place the Oreo cookies in a plastic bag and crush them into fine crumbs using a rolling pin or a mallet.
- Layer the Ingredients: Once the cake is cooled, crumble it into the bottom of a large serving dish or individual cups. Then, layer half of the pudding over the cake.
- Add the Whipped Topping: Spread half of the whipped topping over the pudding layer, followed by half of the crushed Oreo cookies.
- Repeat the Layers: Repeat the layers with the remaining cake, pudding, whipped topping, and crushed cookies.
Decorate the Cake
- Top with Gummy Worms: Scatter gummy worms over the top layer of crushed cookies to give it an extra spooky touch.
- Add Optional Decorations: If desired, add candy pumpkins or chocolate spiders for added Halloween flair.
Chill and Serve
- Chill the Cake: Cover the dessert and refrigerate for at least 1.5 hours to allow the flavors to meld.
- Serve: When ready to serve, scoop out portions and enjoy your Halloween Dirt Cake!
- Prep Time: 30 min.
- Cook Time: 1.5 hrs
Nutrition
- Serving Size: 10-12 servings
- Calories: 250 kcal
- Sugar: 18g
- Fat: 10g
- Carbohydrates: 30g
- Protein: 4g
Conclusion
This Halloween Dirt Cake is not just a dessert; it’s an experience that brings a little magic to your gathering! With its rich chocolate layers and creamy pudding, every bite is a delicious surprise. Plus, the playful decorations make it a fantastic centerpiece for your Halloween festivities.
I can’t wait for you to try this recipe! Whether you’re serving it at a party, a family gathering, or just for some fun at home, I know it’s going to be a hit. So gather your loved ones, put on some spooky tunes, and enjoy the process of creating this delightful dessert together. The smiles and laughter that come from sharing this treat will be the cherry on top!
Once you whip up your Halloween Dirt Cake, I’d love to see how it turns out! Don’t forget to snap a photo and tag me on social media—I love seeing your delicious creations! Your version could inspire someone else to try this fun recipe. Enjoy your spooky baking, and happy Halloween!

