Introduction
Get Creative with DIY Oreo Bats!
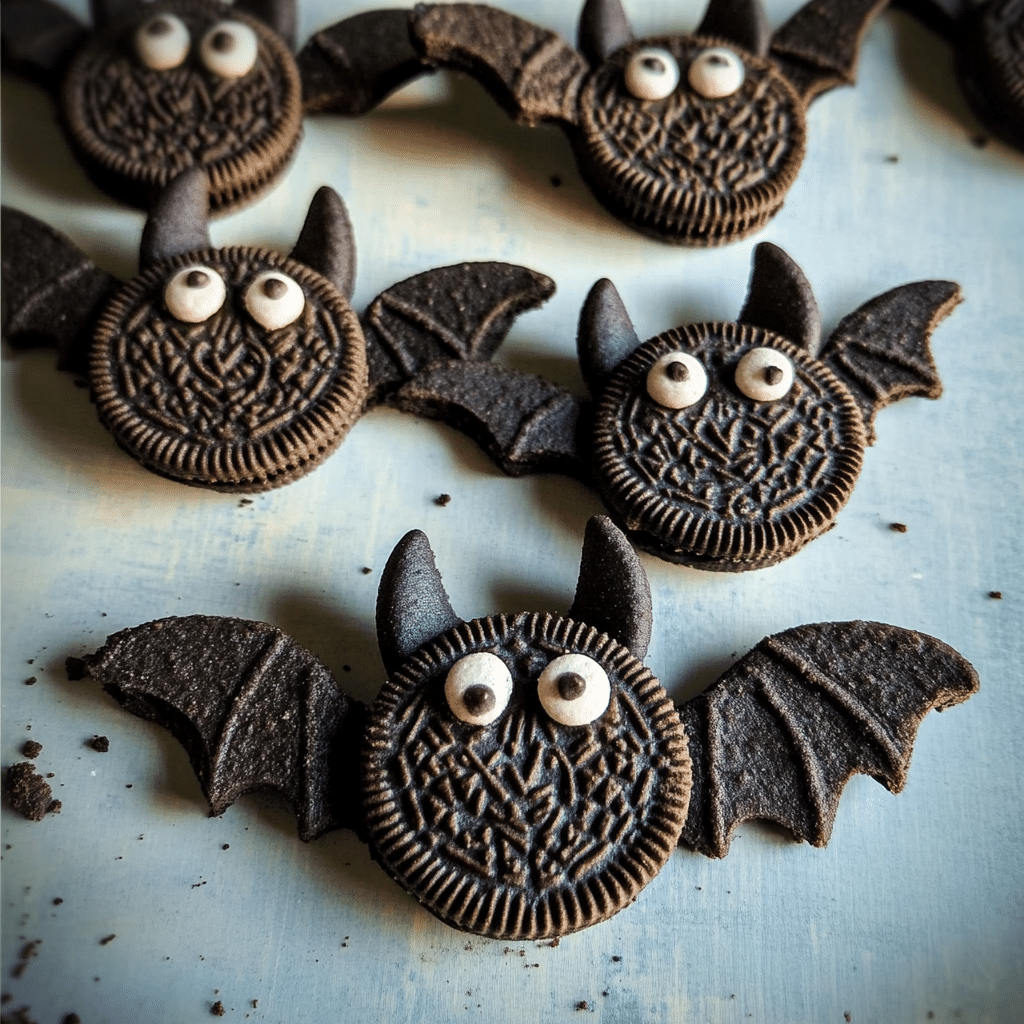
Hey there, friend! Are you ready to add a sprinkle of fun to your next gathering? Let me introduce you to the cutest little treats that are sure to bring smiles: DIY Oreo Bats! Seriously, these adorable snacks are not just a feast for the eyes; they’re deliciously indulgent too. Plus, the best part? You don’t need to be a master chef to whip these up—trust me, if I can do it, so can you!
I remember the first time I made these with my kids. It was one of those rainy afternoons when we were stuck inside, and we needed a little pick-me-up. We gathered our ingredients, got a bit messy, and had an absolute blast assembling our little bat buddies. The giggles we shared, the flour everywhere—it turned into a memory I’ll cherish forever. Now, making Oreo Bats has become a fun tradition in our home, especially around Halloween.
What’s great about this recipe is how easy it is to adapt. Whether you’re hosting a spooky movie night, a school party, or just want to surprise your loved ones, these little guys fit right in. With just a few ingredients like Oreos, candy melts, and some fun decorations, you’ll have bat-shaped goodies that look fabulous on any dessert table.
So, roll up your sleeves and let’s get started! I promise you, once you see how simple and fun it is to create these treats, you’ll be hooked. Plus, your friends and family will be so impressed! Don’t forget to snap a photo and tag me on social media—I love seeing your delicious creations!
Why You’ll Love This Recipe
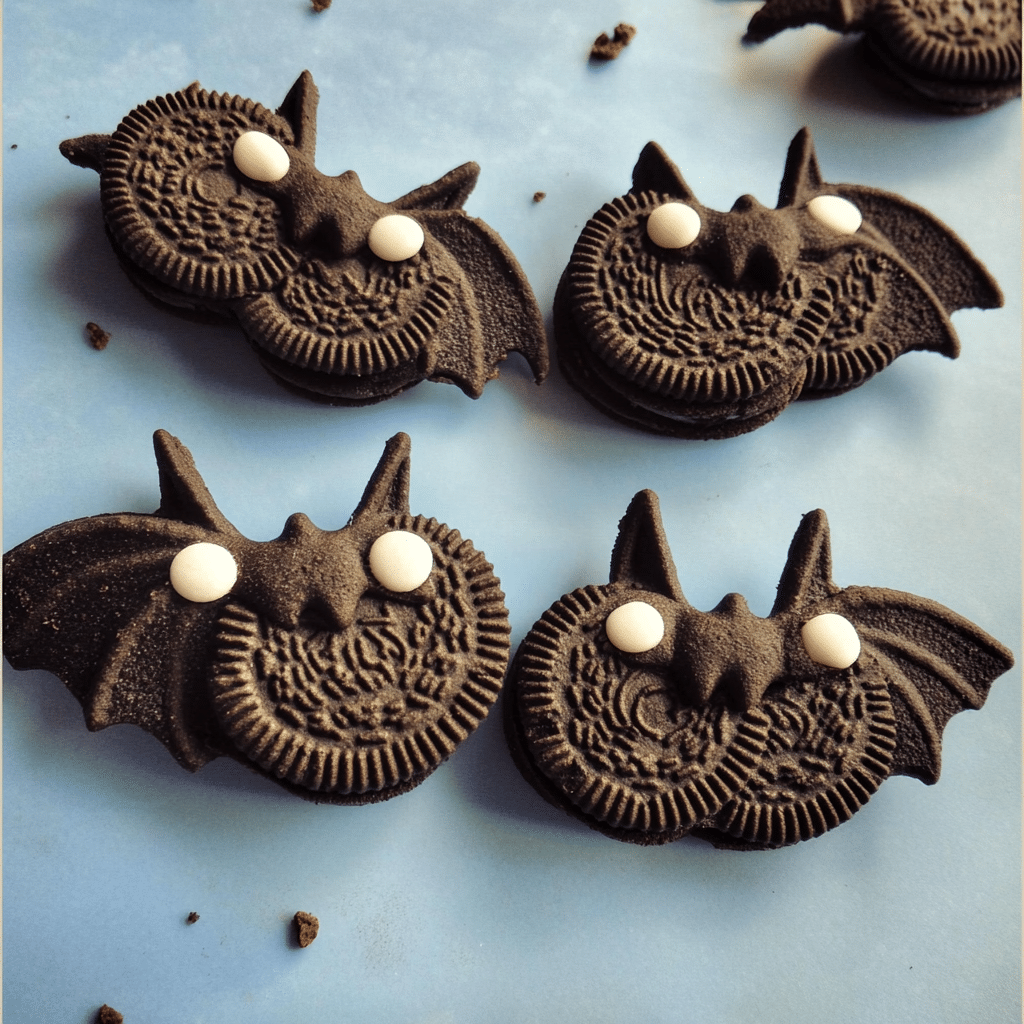
Here are a few reasons to fall in love with DIY Oreo Bats:
- Simple Ingredients: Made with just a few common ingredients, these treats are easy to whip up.
- No Baking Required: Perfect for those who may not have baking skills but still want to create something festive.
- Creative and Fun: Kids will love helping to assemble these cute bat treats!
- Perfect for Parties: They make an eye-catching addition to any gathering.
- Customizable: Feel free to personalize the bats with different colors or toppings.
- Quick to Prepare: You can make a batch in less than 30 minutes!
- Great for Classroom Treats: Share the fun with classmates by bringing these treats to school.
- Engaging Activity: This is a fun project to do with family and friends.
- A Showstopper Dessert: Impress your guests with these creative, adorable snacks.
- Make-Ahead Option: Prepare the bats in advance and store them for later enjoyment.
Preparation Time and Cook Time
- Total Time: 30 minutes
- Preparation Time: 15 minutes
- Assembly Time: 15 minutes
- Servings: 12 bat treats
- Calories per bat: Approximately 150 calories
- Key Nutrients: Sugar: 10g, Fat: 7g, Carbohydrates: 20g, Protein: 1g
Ingredients
Gather the following ingredients to create your DIY Oreo Bats:
For the Bat Bodies:
- 12 Oreo cookies (regular or double-stuffed)
- 12 chocolate-covered pretzel twists (for the wings)
- 12 candy eyes (available at craft stores or online)
- 1 cup chocolate melts or melting chocolate (for dipping)
Ingredient Highlights
- Oreo Cookies: The perfect base for the bat bodies, providing a delicious chocolate flavor.
- Chocolate-Covered Pretzels: These add a fun and crunchy element while serving as wings.
- Candy Eyes: A fun way to bring your bats to life!
- Chocolate Melts: Used to help assemble the bats and add a delightful chocolate coating.
Step-by-Step Instructions
Follow these steps to create your DIY Oreo Bats:
Prepare the Bat Bodies
- Melt the Chocolate: In a microwave-safe bowl, melt the chocolate melts according to package instructions until smooth.
- Dip the Oreos: Take each Oreo cookie and dip it halfway into the melted chocolate. Allow any excess chocolate to drip off.
- Set on Wax Paper: Place the dipped Oreos on a sheet of wax paper or parchment to set.
Assemble the Bats
- Add the Wings: While the chocolate is still wet, insert two chocolate-covered pretzel twists on each side of the Oreo to create wings.
- Attach Candy Eyes: Once the chocolate has slightly set (but not fully hard), add a candy eye to the top center of each Oreo to give your bat some personality.
Let Them Set
- Cool Completely: Allow the assembled bats to sit at room temperature until the chocolate has hardened completely, about 15 minutes.
How to Serve
Here are some fun serving ideas for your DIY Oreo Bats:
- Display on a Themed Table: Arrange the Oreo bats on a platter for a festive look.
- Use Decorative Cups: Place bats in small cups or jars for a cute individual serving.
- Pair with Drinks: Serve alongside themed beverages for a complete treat experience.
- Make a Treat Bag: Pack a few Oreo bats in treat bags for fun party favors.
- Engage Kids: Let kids help decorate or assemble the bats for a fun activity.
- Theme with Decorations: Surround your bats with other treats for a complete dessert table.
- Create a Bat Display: Use a cake stand to create a dramatic display of your bats.
- Wrap for Gifts: Gift these sweet bats to friends and family for a fun surprise.
- Make a Bat Army: Create a larger batch to spread the joy at multiple gatherings.
- Have a Themed Party: Feature these treats as part of a themed celebration.
Additional Tips
Maximize your enjoyment of DIY Oreo Bats with these helpful tips:
- Use Different Cookies: Experiment with different flavored cookies for unique bat variations.
- Melt Chocolate Wisely: Use a microwave in short intervals to prevent the chocolate from burning.
- Decorate Creatively: Use sprinkles or edible glitter to give your bats some extra sparkle.
- Keep Cool: Store assembled bats in the refrigerator to keep them fresh and avoid melting.
- Substitute Pretzels: Try using chocolate wafers or other cookies for different wing styles.
- Add Personal Touches: Customize your bats with other candy decorations like M&M’s or licorice.
- Make Mini Bats: Use mini Oreo cookies for bite-sized bat treats.
- Spooky Sprinkles: Top with fun sprinkles for added fun.
- Prepare Ahead: You can prepare the bat bodies a day in advance and assemble them later.
- Let Kids Decorate: Allow kids to create their own designs for a fun family activity.
Recipe Variations
Consider these creative variations for your DIY Oreo Bats:
- Peanut Butter Oreo Bats: Use peanut butter-filled Oreos for a tasty twist.
- White Chocolate Coating: Dip your Oreos in white chocolate for a different look.
- Decorative Wings: Use colored candy melts to dip pretzels for colorful wings.
- Gluten-Free Option: Substitute gluten-free cookies and pretzels for a gluten-free version.
- Candy Corn Accents: Add candy corn to your bat designs for a pop of color.
- Fruit Flavor: Use fruit-flavored Oreo cookies for a fruity variation.
- Mini Versions: Make mini Oreo bats using mini Oreos and smaller pretzels.
- Add a Body: Use a small piece of candy to create a body for each bat for extra detail.
- Use Different Chocolate: Try using dark or milk chocolate for dipping, depending on your preference.
Freezing and Storage
Ensure proper storage to maintain the quality of your DIY Oreo Bats:
- Storage: Keep any leftover bats in an airtight container at room temperature for up to 3 days.
- Refrigerate: If the weather is warm, store them in the refrigerator to maintain freshness.
- Freezing: You can freeze the assembled bats for up to 1 month. Just make sure they are well-wrapped.
- Thawing: Thaw frozen Oreo bats at room temperature before serving.
Special Equipment
You may need these kitchen tools to create your DIY Oreo Bats:
- Microwave-Safe Bowl: For melting the chocolate.
- Wax Paper: To place the dipped Oreos on while they set.
- Spatula or Spoon: For dipping the Oreos into the melted chocolate.
- Serving Platter: To display the finished bats.
FAQ Section
Here are answers to common questions about DIY Oreo Bats:
- Can I use homemade cookies instead of Oreos?
Yes, feel free to use your favorite homemade cookies! - How long can I store the Oreo bats?
They can be stored at room temperature for up to 3 days or in the refrigerator for up to a week. - Can I freeze these bats?
Yes, you can freeze the assembled Oreo bats for up to 1 month. Just wrap them well. - What if I can’t find candy eyes?
Substitute with small chocolate chips or draw eyes with edible marker. - Can I use gluten-free cookies?
Absolutely! Just choose gluten-free Oreo cookies and pretzels for a gluten-free option.

DIY Oreo Bats
- Total Time: 30 min.
Ingredients
For the Bat Bodies:
- 12 Oreo cookies (regular or double-stuffed)
- 12 chocolate-covered pretzel twists (for the wings)
- 12 candy eyes (available at craft stores or online)
- 1 cup chocolate melts or melting chocolate (for dipping)
Instructions
Prepare the Bat Bodies
- Melt the Chocolate: In a microwave-safe bowl, melt the chocolate melts according to package instructions until smooth.
- Dip the Oreos: Take each Oreo cookie and dip it halfway into the melted chocolate. Allow any excess chocolate to drip off.
- Set on Wax Paper: Place the dipped Oreos on a sheet of wax paper or parchment to set.
Assemble the Bats
- Add the Wings: While the chocolate is still wet, insert two chocolate-covered pretzel twists on each side of the Oreo to create wings.
- Attach Candy Eyes: Once the chocolate has slightly set (but not fully hard), add a candy eye to the top center of each Oreo to give your bat some personality.
Let Them Set
- Cool Completely: Allow the assembled bats to sit at room temperature until the chocolate has hardened completely, about 15 minutes.
- Prep Time: 15 min.
- Cook Time: 15 min.
Nutrition
- Serving Size: 12 bat treats
- Calories: 150 kcal
- Sugar: 10g
- Fat: 7g
- Carbohydrates: 20g
- Protein: 1g
Conclusion
I’m so excited for you to try making these DIY Oreo Bats! They’re not just a fun project; they’re also a delightful treat that’s sure to impress your friends and family at any gathering. The best part? The assembly is super easy, making it a perfect activity to do with the little ones. As you gather your ingredients and let your creativity soar, I hope you enjoy every moment of this fun experience.
Once you’ve made your Oreo Bats, I can’t wait to see how they turn out! Whether you stick to the classic design or add your own unique twist, your creations are bound to be a hit. Don’t forget to snap a photo and share it with me on social media—I absolutely love seeing your delicious masterpieces! If you have any thoughts or tips while making these treats, please leave a comment. Your feedback and experiences can inspire others to join in the fun!
So, roll up your sleeves, get those Oreos ready, and let’s make some batty delights! Happy snacking, and I look forward to seeing your delicious creations!

