Introduction
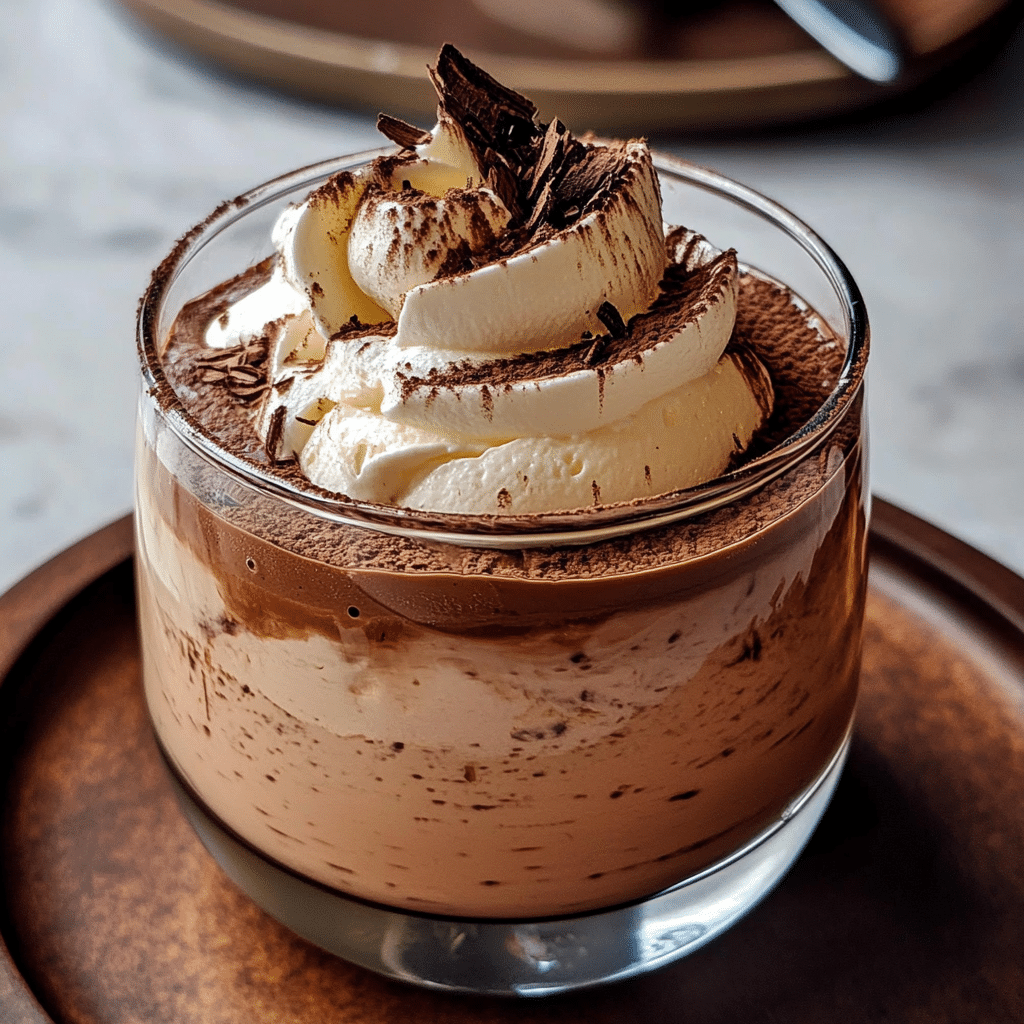
For all the coffee aficionados out there, Coffee Mousse is a dessert that will surely steal your heart. With its velvety texture and rich, aromatic coffee flavor, it’s the perfect way to end a meal or to enjoy as an afternoon treat. This mousse is smooth, light, and indulgent, offering a delightful balance of sweetness and coffee punch. Whether you’re entertaining guests or simply treating yourself, this dessert is sure to impress with its creamy richness and irresistible flavor. The best part? It’s easy to make and can be prepared ahead of time, so you can sit back and enjoy the compliments that follow!
The beauty of Coffee Mousse lies in its simplicity. The base is made with just a few ingredients: heavy cream, sugar, coffee, and a bit of gelatine to give it that luscious, airy texture. What sets it apart is the coffee infusion—using freshly brewed espresso or high-quality coffee really elevates the mousse, giving it that bold, deep flavor that makes every bite feel indulgent.
Plus, it’s a versatile dessert that can be dressed up in many ways. Serve it in individual cups, layer it with chocolate or whipped cream, or add a sprinkle of cocoa powder or grated chocolate for extra flair. And, if you’re feeling adventurous, you can even mix in a splash of your favorite liqueur, like Baileys or Kahlúa, to add an extra layer of flavor.
Coffee Mousse is one of those desserts that’s sure to become a favorite—it’s just sophisticated enough to feel special, but easy enough to make without a lot of fuss. Whether you’re sharing it with friends or enjoying it solo, it’s a guaranteed crowd-pleaser!
Why You’ll Love This Recipe
There’s so much to love about Coffee Mousse:
- Creamy and Light: Despite its rich flavor, this mousse has a light, airy texture that melts in your mouth.
- Perfect Balance: The coffee flavor is bold but not overwhelming, giving it a sophisticated edge without overpowering the sweetness.
- Make-Ahead: This dessert can be prepared the day before, making it perfect for busy nights or special occasions.
- Customizable: You can adjust the amount of coffee or sweetness to suit your taste.
- Versatile: Serve it in individual cups, jars, or as part of a larger dessert spread.
Preparation Time and Cook Time
- Total Time: 15 minutes (plus chilling time)
- Preparation Time: 15 minutes
- Chill Time: 3 hours (or overnight)
- Servings: 4-6
- Calories per serving: Approximately 300 calories
- Key Nutrients: Protein, Calcium, and Caffeine (from coffee)
Ingredients
Here’s what you’ll need for your Coffee Mousse:
- 1 cup strong brewed coffee (cooled)
- 1 tablespoon instant coffee granules (optional, for extra flavor)
- 1/2 cup heavy cream
- 2 tablespoons sugar (or to taste)
- 1/2 teaspoon vanilla extract
- 3/4 cup mascarpone cheese (or cream cheese for a different texture)
- 1/2 cup whipped cream (for folding)
- 2 tablespoons cocoa powder (for garnish, optional)
- Chocolate shavings or cocoa powder (for garnish, optional)
Ingredient Highlights
- Strong Brewed Coffee: Provides the rich coffee flavor that makes this mousse so unique.
- Mascarpone Cheese: Adds a rich, creamy texture and depth of flavor, balancing the coffee’s bitterness.
- Whipped Cream: Lightens the mousse, giving it that signature airy texture.
- Vanilla Extract: Adds a hint of warmth and enhances the overall flavor of the mousse.
Step-by-Step Instructions
Making Coffee Mousse is easier than you think. Just follow these steps:
1. Prepare the Coffee Mixture
- Brew the Coffee: Brew a strong cup of coffee, then allow it to cool slightly. If you like an extra coffee kick, stir in the instant coffee granules.
- Combine the Ingredients: In a mixing bowl, combine the cooled coffee, sugar, and vanilla extract. Stir until the sugar is dissolved.
2. Prepare the Creamy Base
- Mix Mascarpone: In another bowl, whisk the mascarpone cheese until smooth. If you’re using cream cheese, make sure to soften it before mixing to avoid lumps.
- Fold in Whipped Cream: In a separate bowl, whip the heavy cream until stiff peaks form. Gently fold the whipped cream into the mascarpone mixture, creating a light, creamy texture.
3. Combine the Coffee and Cream Mixtures
- Combine: Slowly pour the coffee mixture into the creamy mascarpone base, folding gently until fully combined. Be careful not to deflate the whipped cream too much—this mousse should remain light and fluffy.
4. Chill the Mousse
- Refrigerate: Spoon the mousse into serving glasses or bowls. Cover with plastic wrap and chill in the refrigerator for at least 3 hours, or overnight for best results. The mousse will firm up and become more flavorful as it chills.
5. Garnish and Serve
- Garnish: Just before serving, garnish the mousse with a dusting of cocoa powder or chocolate shavings for a beautiful, finishing touch.
- Serve: Serve chilled and enjoy the creamy, dreamy goodness of your homemade coffee mousse!
How to Serve
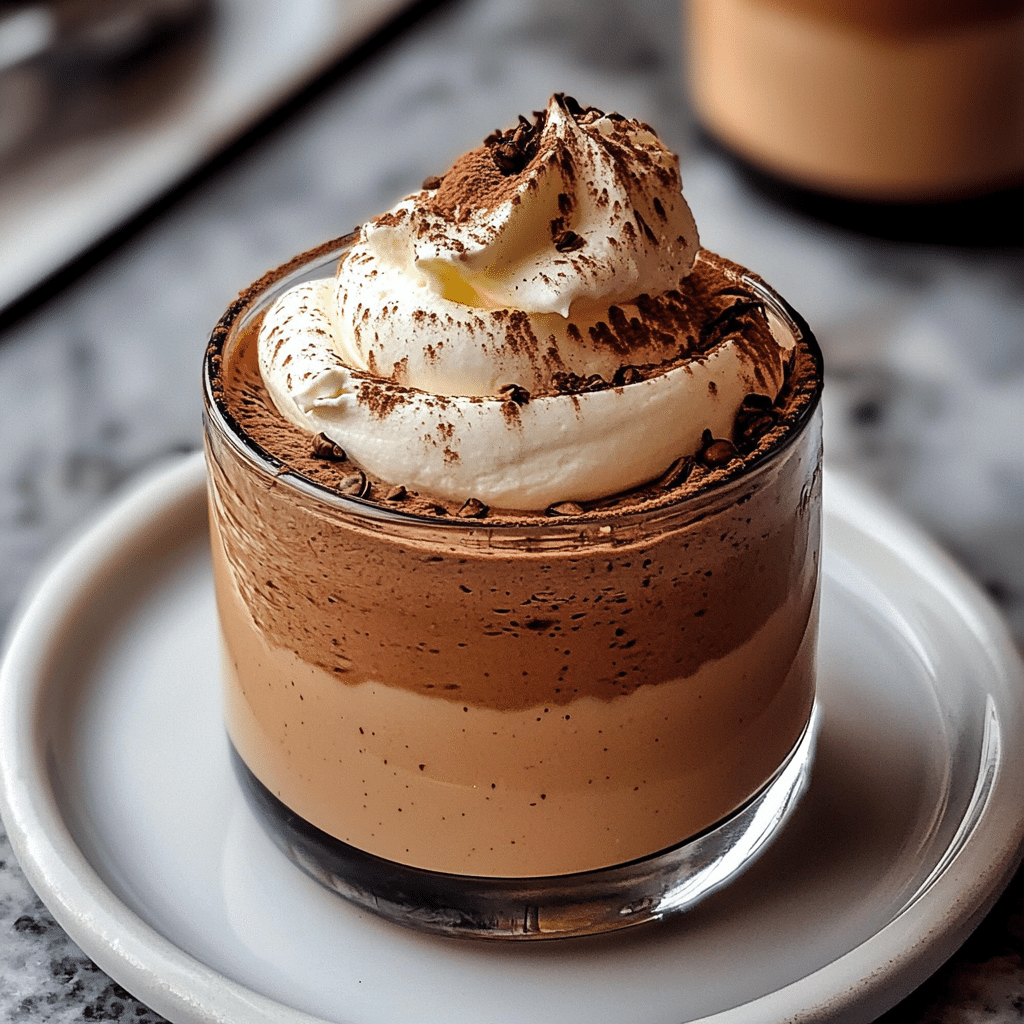
- Individual Cups: For an elegant presentation, serve the mousse in individual glasses, mason jars, or small bowls.
- Layered: If you’re feeling fancy, you can layer the mousse with chocolate or coffee-soaked biscuits for added texture.
- With a Side of Cookies: Pair your mousse with a few delicate cookies, such as biscotti or shortbread, for the perfect dessert experience.
Additional Tips
Here are some helpful tips to make your Coffee Mousse even better:
- Adjust the Sweetness: Taste your coffee mixture before folding it into the creamy base. Add more sugar if you like your mousse a little sweeter.
- Coffee Strength: If you prefer a stronger coffee flavor, use espresso or a stronger brew of coffee.
- Make it Dairy-Free: Use coconut cream in place of heavy cream and a dairy-free cheese alternative to make a dairy-free version of the mousse.
- No Mascarpone?: You can substitute mascarpone cheese with cream cheese for a tangier taste or use ricotta cheese for a slightly different texture.
- Chill Well: Don’t skip the chilling time! The mousse needs at least a few hours in the fridge to firm up and set to the perfect consistency.
Recipe Variations
- Mocha Mousse: Add a tablespoon of cocoa powder to the coffee mixture for a rich, mocha-flavored mousse.
- Alcohol-Infused: For an adult version, stir in a splash of Kahlúa or coffee liqueur for an added depth of flavor.
- Vegan Version: Use a plant-based whipped cream, silken tofu, and dairy-free mascarpone for a fully vegan version of this dessert.
- Chocolate Coffee Mousse: Add melted chocolate to the mascarpone mixture for a chocolate-coffee fusion dessert.
Freezing and Storage
To store your Coffee Mousse:
- Storage: Keep the mousse in an airtight container in the fridge for up to 3 days.
- Freezing: While mousse can be frozen, it might lose its light texture upon thawing, so it’s best enjoyed fresh.
- Serving After Storage: If stored for a few days, the mousse may become firmer, so give it a quick stir before serving to restore its creamy texture.
Special Equipment
Here’s what you might need to make your Coffee Mousse:
- Mixing Bowls: For combining all the ingredients.
- Electric Mixer or Whisk: For whipping the cream and mascarpone.
- Measuring Cups: To ensure precise amounts of coffee, cream, and sugar.
- Serving Cups or Glasses: For an elegant presentation.
FAQ Section
Wondering more about making your Coffee Mousse? Here’s a quick FAQ to help you with some common questions and tips for perfecting this dessert:
- Can I make the mousse ahead of time?
Yes, this mousse needs at least 3 hours to chill, and it actually tastes even better after a day in the fridge! - Can I use decaf coffee?
Absolutely! Use decaf coffee if you prefer to avoid caffeine. - Is there a substitute for mascarpone cheese?
Yes, cream cheese or ricotta can be used as substitutes, though mascarpone gives the mousse a creamier texture. - How do I make it less sweet?
Simply reduce the sugar in the recipe or omit it entirely if you prefer a more bitter, coffee-forward mousse. - Can I freeze the mousse?
- While you can freeze Coffee Mousse, it may lose its light, airy texture when thawed. It’s best enjoyed fresh, but if you need to store it longer, freezing is an option.
- What’s the best way to garnish the mousse?
- Garnish your mousse with cocoa powder, chocolate shavings, or even a drizzle of caramel or whipped cream to elevate its look and flavor.
- Can I add alcohol to the mousse?
- Yes! A splash of Kahlúa or coffee liqueur adds an adult twist to this dessert, enhancing the coffee flavor with a rich, boozy depth.

Coffee Mousse
- Total Time: 15 min.
Ingredients
- 1 cup strong brewed coffee (cooled)
- 1 tablespoon instant coffee granules (optional, for extra flavor)
- 1/2 cup heavy cream
- 2 tablespoons sugar (or to taste)
- 1/2 teaspoon vanilla extract
- 3/4 cup mascarpone cheese (or cream cheese for a different texture)
- 1/2 cup whipped cream (for folding)
- 2 tablespoons cocoa powder (for garnish, optional)
- Chocolate shavings or cocoa powder (for garnish, optional)
Instructions
1. Prepare the Coffee Mixture
- Brew the Coffee: Brew a strong cup of coffee, then allow it to cool slightly. If you like an extra coffee kick, stir in the instant coffee granules.
- Combine the Ingredients: In a mixing bowl, combine the cooled coffee, sugar, and vanilla extract. Stir until the sugar is dissolved.
2. Prepare the Creamy Base
- Mix Mascarpone: In another bowl, whisk the mascarpone cheese until smooth. If you’re using cream cheese, make sure to soften it before mixing to avoid lumps.
- Fold in Whipped Cream: In a separate bowl, whip the heavy cream until stiff peaks form. Gently fold the whipped cream into the mascarpone mixture, creating a light, creamy texture.
3. Combine the Coffee and Cream Mixtures
- Combine: Slowly pour the coffee mixture into the creamy mascarpone base, folding gently until fully combined. Be careful not to deflate the whipped cream too much—this mousse should remain light and fluffy.
4. Chill the Mousse
- Refrigerate: Spoon the mousse into serving glasses or bowls. Cover with plastic wrap and chill in the refrigerator for at least 3 hours, or overnight for best results. The mousse will firm up and become more flavorful as it chills.
5. Garnish and Serve
- Garnish: Just before serving, garnish the mousse with a dusting of cocoa powder or chocolate shavings for a beautiful, finishing touch.
- Serve: Serve chilled and enjoy the creamy, dreamy goodness of your homemade coffee mousse!
- Prep Time: 15 min.
- Chill Time: 3 hours
Nutrition
- Serving Size: 4-6 servings
- Calories: 300 kcal
Conclusion
Coffee Mousse is a simple yet indulgent treat that’s perfect for any coffee lover. Its creamy, fluffy texture combined with the rich flavor of coffee creates a dessert that’s as satisfying as it is delicious. Whether you’re treating yourself after a long day or serving it at your next gathering, this mousse will definitely impress. What I love most about it is that it’s so easy to make ahead of time, leaving you with more time to enjoy the moment, whether you’re relaxing on the couch or entertaining guests.
The coffee flavor really shines through, but it’s balanced by the mousse’s lightness, making each bite a dreamy experience. Don’t forget to experiment with different toppings, like a sprinkle of cocoa powder or chocolate shavings, to make it even more indulgent!
So, grab your ingredients, whip up this treat, and get ready to enjoy every smooth, coffee-flavored spoonful. Don’t forget to snap a photo and tag me on social media—I love seeing your delicious creations!

