Introduction
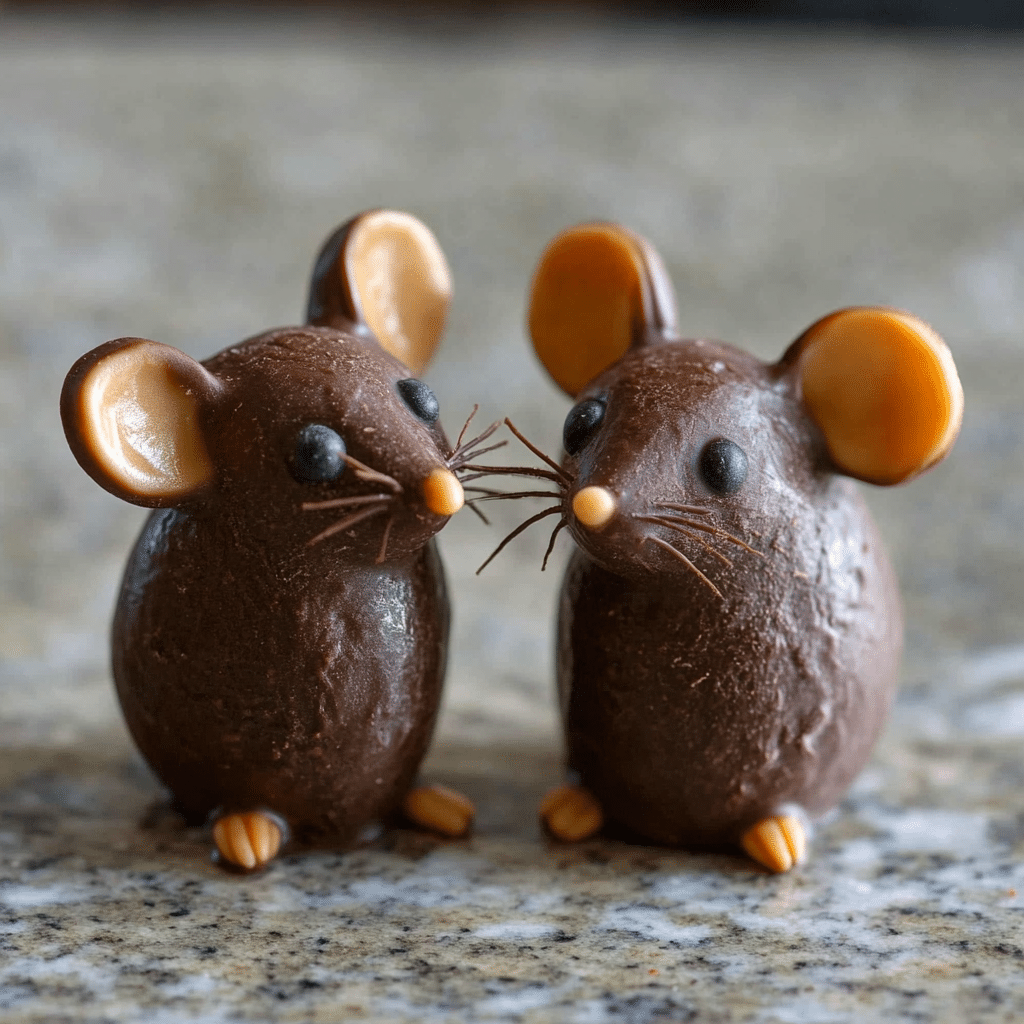
There’s something so charming about Chocolate Mice—they’re a treat that always brings smiles and a bit of whimsy to any gathering. I first stumbled upon this recipe while looking for a fun activity to do with my nieces, and it quickly became a family favorite. It’s one of those recipes that’s as enjoyable to make as it is to eat, and seeing everyone’s reaction when they spot these adorable little “mice” on the table is just priceless!
What makes Chocolate Mice so special is their simplicity. You only need a handful of ingredients: chocolate-covered almonds, a bit of melted chocolate, and a few other easy-to-find items for decorating. They’re incredibly easy to assemble, even for those who might feel intimidated by detailed treats. You don’t need any special equipment—just a bit of patience and a love for sweets! I like to get the family involved, setting up a mini “assembly line” where each person gets a job, from dipping the almonds in chocolate to placing the little eyes and ears. It turns dessert-making into a fun, memory-filled activity.
These little chocolate critters are perfect for all sorts of occasions. I often make them as party favors, and they’re always a hit on holiday tables or for themed birthday parties. So, whether you’re making them solo or with a crowd, get ready for some chocolatey fun. I promise they’re as easy to make as they are to enjoy, and who wouldn’t love a few tiny, sweet mice scampering across the dessert table?
Why You’ll Love This Recipe
Here are several reasons to fall in love with Chocolate Mice:
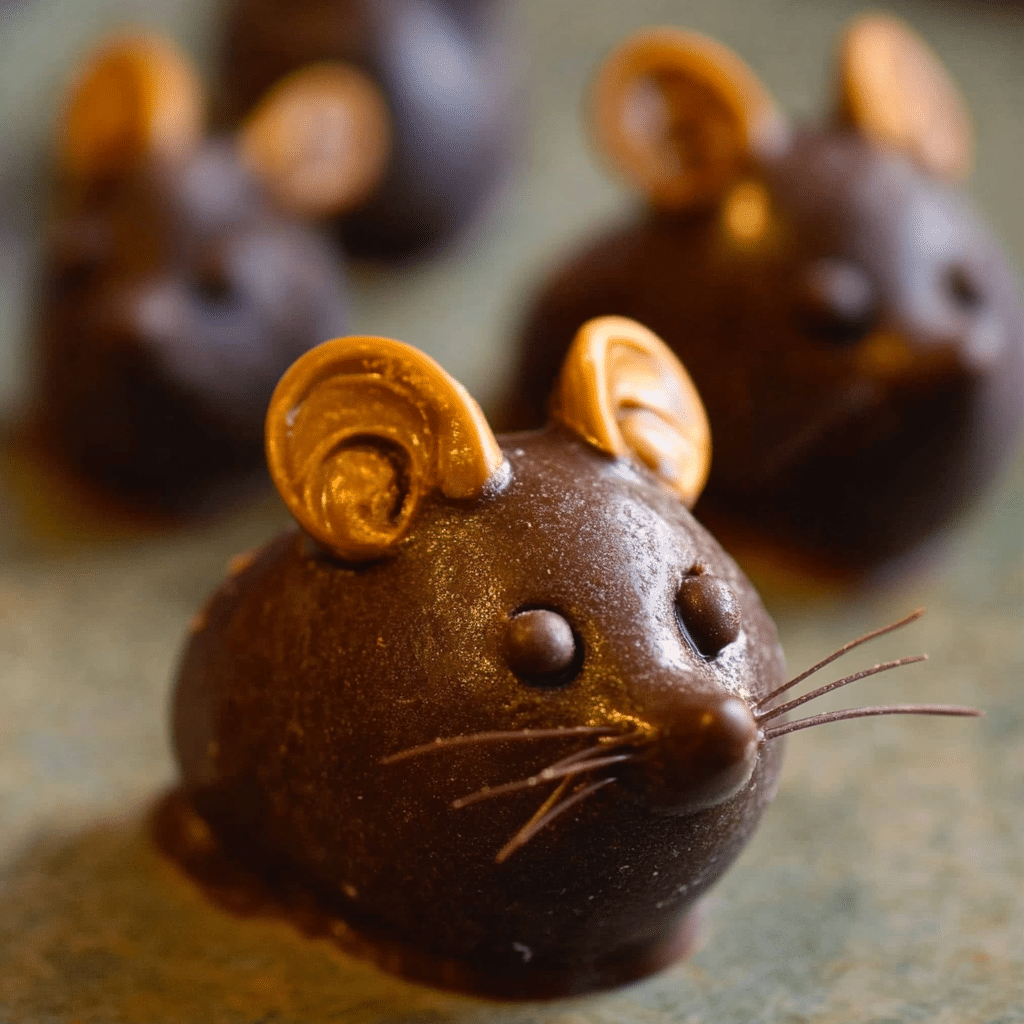
- Adorable Presentation: These cute little mice are sure to bring a smile to anyone’s face.
- Quick and Easy: With minimal preparation time, these treats can be made in a flash.
- Customizable: Feel free to personalize the mice with different types of chocolate or toppings.
- Perfect for Any Occasion: Ideal for parties, holidays, or just a fun afternoon treat.
- No Special Equipment Needed: You can create these delightful treats with basic kitchen tools.
- Great for Kids: Kids will love helping to assemble these fun treats!
- A Unique Dessert: Stand out with these charming confections that are sure to impress.
- Make-Ahead Option: Prepare these in advance and store them for later enjoyment.
Preparation Time and Cook Time
- Total Time: 30 minutes
- Preparation Time: 15 minutes
- Chilling Time: 15 minutes
- Servings: Approximately 12 mice
- Calories per mouse: Approximately 120 calories
- Key Nutrients: Fiber: 1g, Fat: 9g, Carbohydrates: 9g, Protein: 3g
Ingredients
Gather the following ingredients to create your Chocolate Mice:
For the Mice:
- 12 whole almonds (for the mouse bodies)
- 1 cup milk or dark chocolate chips (for coating)
- 12 chocolate sprinkles (for the tails)
- 12 small candy eyes (or mini chocolate chips for eyes)
- 12 small pieces of licorice or gummy candy (for the ears)
Ingredient Highlights
- Chocolate Chips: Choose high-quality chocolate chips for a rich and delicious coating.
- Almonds: The almonds provide a crunchy texture that pairs perfectly with the chocolate.
- Candy Eyes: These add a fun touch, bringing the mice to life.
Step-by-Step Instructions
Follow these steps to create your Chocolate Mice:
Prepare the Mice
- Melt the Chocolate: In a microwave-safe bowl, melt the chocolate chips in 30-second intervals, stirring in between until smooth.
- Coat the Almonds: Dip each almond into the melted chocolate, making sure it’s fully coated. Use a fork to lift the almond out and tap off any excess chocolate.
- Place on a Baking Sheet: Line a baking sheet with parchment paper and place the coated almonds on it. Allow the chocolate to set for about 10 minutes.
Assemble the Mice
- Add Eyes: Once the chocolate has set slightly but is still soft, place a candy eye (or mini chocolate chip) on each almond.
- Create Ears: Cut small pieces of licorice or gummy candy to form the ears and press them into the chocolate next to the eyes.
- Attach Tails: Stick a chocolate sprinkle into the chocolate at the back of each almond to create the tail.
How to Serve
Here are some fun serving ideas for your Chocolate Mice:
- Display on a Platter: Arrange the mice on a decorative platter for a delightful presentation.
- Use Fun Packaging: Place them in clear bags tied with a ribbon for a cute gift or party favor.
- Create a Themed Dessert Table: Add these mice to a dessert table for a whimsical touch.
- Serve with Hot Chocolate: Pair with hot chocolate for a cozy treat.
- Engage Kids: Let kids help with assembling the mice for a fun activity.
Additional Tips
Maximize your enjoyment of Chocolate Mice with these helpful tips:
- Use Quality Chocolate: Opt for high-quality chocolate for the best flavor.
- Make Ahead: These treats can be prepared a day in advance and stored in an airtight container.
- Experiment with Flavors: Try using flavored chocolate or adding toppings like crushed nuts for variation.
- Store Properly: Keep the mice in an airtight container at room temperature for up to a week.
- Customize the Mice: Use different candies for eyes or ears to create a variety of designs.
- Chill Before Serving: If it’s warm in your kitchen, chilling the mice in the refrigerator can help the chocolate set faster.
Recipe Variations
Consider these creative variations for your Chocolate Mice:
- Nut Variations: Use different nuts like cashews or hazelnuts for the bodies.
- White Chocolate Coating: Try using white chocolate instead of milk or dark chocolate for a different look.
- Decorative Sprinkles: Use colored sprinkles to match a specific theme or event.
- Mini Mice: Make smaller versions using half an almond for a bite-sized treat.
- Fruit Mice: Substitute the almond with a small piece of dried fruit for a fruity twist.
Freezing and Storage
Ensure proper storage to maintain the quality of your Chocolate Mice:
- Storage: Keep any leftover mice in an airtight container at room temperature for up to a week.
- Refrigeration: If it’s hot, store the mice in the refrigerator to maintain freshness, but allow them to come to room temperature before serving for the best flavor.
- Freezing: These treats can be frozen, but the texture may change slightly upon thawing.
Special Equipment
You may need these kitchen tools to create your Chocolate Mice:
- Microwave-Safe Bowl: For melting the chocolate.
- Baking Sheet: To place the coated almonds on while they set.
- Parchment Paper: To line the baking sheet for easy cleanup.
- Fork: For dipping and lifting the almonds.
FAQ Section
Here are answers to common questions about Chocolate Mice:
- Can I use other types of nuts?
Yes, feel free to experiment with different nuts for the mouse bodies. - How long can I store the mice?
They can be stored at room temperature for up to a week or in the refrigerator for up to two weeks. - Can I use a double boiler to melt the chocolate instead of a microwave?
- Absolutely! If you prefer, melt the chocolate over a double boiler on the stovetop. Just make sure to stir frequently to avoid overheating.
- What’s the best way to keep the melted chocolate smooth and shiny?
- If you have trouble with clumping, try adding a small amount (1-2 teaspoons) of coconut oil or vegetable shortening to the chocolate while melting. This will help keep it smooth and create a glossy finish.
- Can I add flavor to the chocolate coating?
- Yes, you can add a drop or two of flavored extract (like almond, peppermint, or orange) to the melted chocolate for a unique twist. Just be careful not to add too much, as it can alter the chocolate’s consistency.
- How can I prevent the chocolate from sticking to the fork?
- Tapping the fork gently on the edge of the bowl can help remove excess chocolate, making it less likely to stick when placing the almond on the parchment.
- What if I don’t have licorice or gummy candy for ears?
- You can use small slivers of almonds or mini chocolate chips as ears. For an extra creative twist, cut small pieces from colored fruit leather!
- Are there any nut-free alternatives?
- Yes, if you want to make these nut-free, you can use chocolate-covered candies or small marshmallows for the body instead of almonds.
Chocolate Mice
- Total Time: 30 min.
Ingredients
For the Mice:
- 12 whole almonds (for the mouse bodies)
- 1 cup milk or dark chocolate chips (for coating)
- 12 chocolate sprinkles (for the tails)
- 12 small candy eyes (or mini chocolate chips for eyes)
- 12 small pieces of licorice or gummy candy (for the ears)
Ingredient Highlights
- Chocolate Chips: Choose high-quality chocolate chips for a rich and delicious coating.
- Almonds: The almonds provide a crunchy texture that pairs perfectly with the chocolate.
- Candy Eyes: These add a fun touch, bringing the mice to life.
Instructions
repare the Mice
- Melt the Chocolate: In a microwave-safe bowl, melt the chocolate chips in 30-second intervals, stirring in between until smooth.
- Coat the Almonds: Dip each almond into the melted chocolate, making sure it’s fully coated. Use a fork to lift the almond out and tap off any excess chocolate.
- Place on a Baking Sheet: Line a baking sheet with parchment paper and place the coated almonds on it. Allow the chocolate to set for about 10 minutes.
Assemble the Mice
- Add Eyes: Once the chocolate has set slightly but is still soft, place a candy eye (or mini chocolate chip) on each almond.
- Create Ears: Cut small pieces of licorice or gummy candy to form the ears and press them into the chocolate next to the eyes.
- Attach Tails: Stick a chocolate sprinkle into the chocolate at the back of each almond to create the tail.
- Prep Time: 15 min.
- Cook Time: 15 min.
Nutrition
- Serving Size: 12 mice
- Calories: 120 kcal
- Fat: 9g
- Carbohydrates: 9g
- Fiber: 1g
- Protein: 3g
Conclusion
I’m so excited for you to bring these whimsical Chocolate Mice to life! Each little mouse has its own charm, and the process of assembling them is half the fun. Whether you’re making these with kids or surprising guests with an unexpected treat, these little bites of chocolatey goodness are bound to be a hit. Don’t be afraid to let your creativity shine—try experimenting with different garnishes, like adding tiny candy eyes or using almonds for “ears.”
Once your mice are ready, be sure to capture the moment! I’d love to see how your adorable treats turned out. Post a picture on social media, tag me, or leave a comment below to share your creative take on this fun recipe. And if you’ve made these Chocolate Mice part of a special occasion, I’d love to hear about it! Your ideas might even inspire others to add a playful touch to their own desserts.
Don’t forget to snap a photo and tag me on social media—I love seeing your delicious creations!

