Introduction
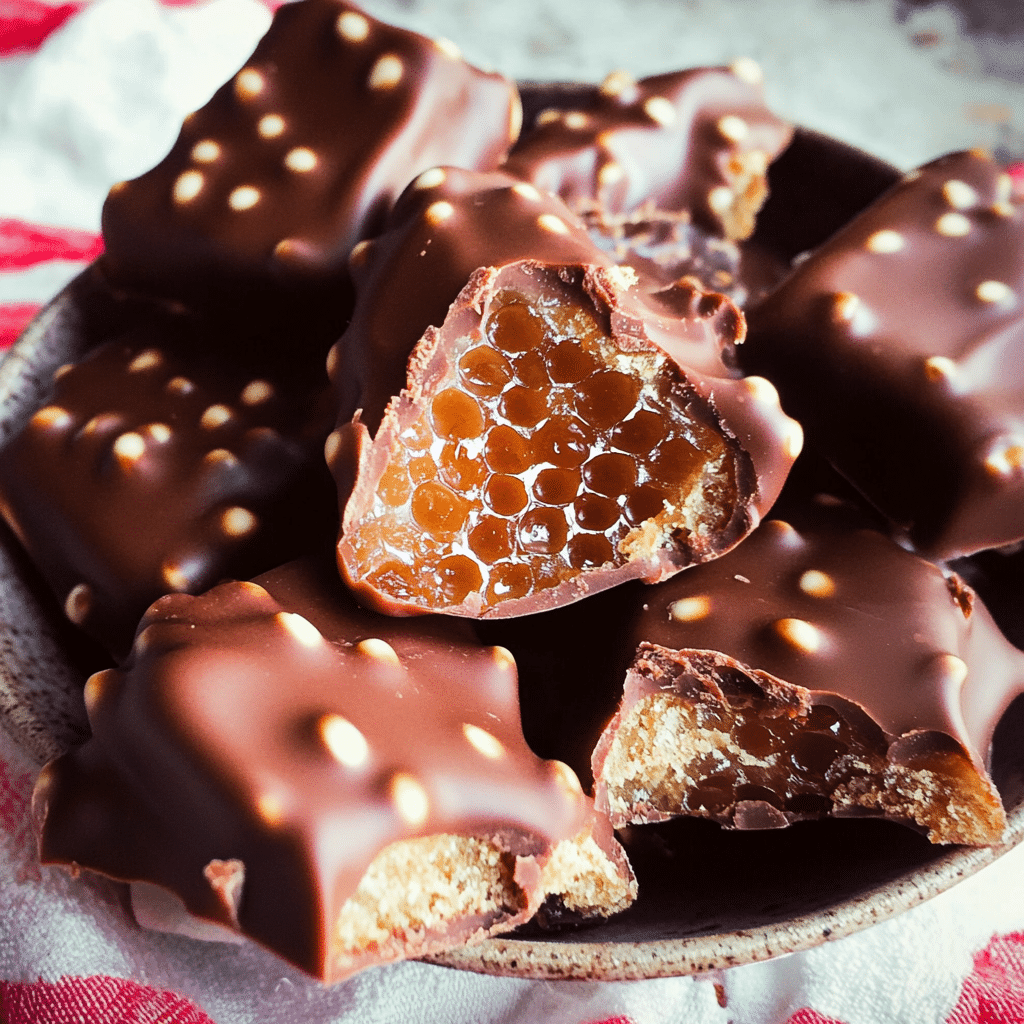
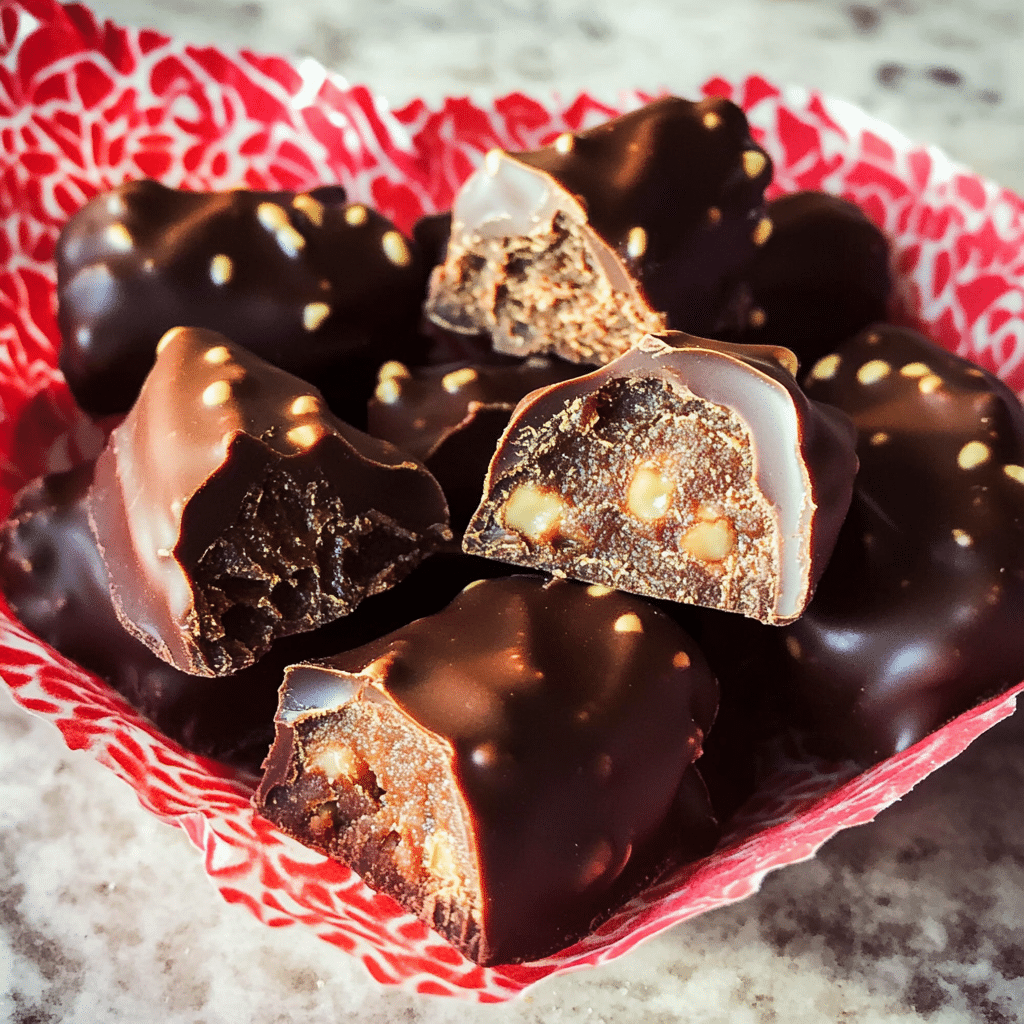
Hey there, friend! If you’re looking for a treat that’s not only delicious but also super fun to make, let me introduce you to Chocolate Covered Honeycomb. Seriously, this sweet snack is a game-changer. Imagine that delightful crunch as you bite into the light, airy honeycomb, all wrapped up in rich, smooth chocolate. It’s the kind of treat that’ll have you reaching for just one more piece, and trust me, you won’t be able to stop at just one!
Now, I know what you might be thinking: “Isn’t making candy complicated?” But I promise you, this recipe is as easy as pie! Even if you’re a beginner in the kitchen, you’ll find that this one comes together quickly and effortlessly. All you need are a few simple ingredients, and before you know it, you’ll have a beautiful batch of honeycomb ready to impress your family and friends.
I first discovered this recipe during a family gathering where my cousin brought a batch to share. I was instantly hooked! It’s become a favorite in my household, especially during the holidays when we love to create homemade treats. The kids get a kick out of watching the sugar bubble and turn into that perfect golden color. And here’s the best part: these honeycomb pieces make great gifts! Just package them up in a cute box, and you’ve got a thoughtful treat that’ll have everyone smiling.
So, are you ready to dive into making some Chocolate Covered Honeycomb? Let’s get started and bring a little sweetness into your kitchen!
4o mini
Why You’ll Love This Recipe
Here are several reasons to love Chocolate Covered Honeycomb:
- Unique Texture: The crunchy, airy honeycomb coated in chocolate creates a delightful combination.
- Customizable: Drizzle with white chocolate or sprinkle with sea salt for added flair.
- Easy to Make: With just a few simple steps, you can create a stunning treat.
- Perfect for Sharing: Great for parties, gifts, or just enjoying at home.
- Fun Activity: Kids and adults alike will enjoy making and eating this sweet treat.
- No Special Equipment Needed: You can make this with basic kitchen tools.
- Great for All Skill Levels: Easy enough for beginners but impressive enough for seasoned bakers.
- Versatile Uses: Use it as a topping for ice cream, cupcakes, or eat it as a snack.
- A Showstopper Dessert: Impress friends and family with your homemade confection.
- Make-Ahead Option: Prepare in advance and store for a special treat anytime.
Preparation Time and Cook Time
- Total Time: 1 hour
- Preparation Time: 15 minutes
- Cook Time: 25 minutes
- Cooling Time: 20 minutes
- Servings: About 12 pieces
- Calories per piece: Approximately 150 calories
- Key Nutrients: Sugar: 10g, Fat: 8g, Carbohydrates: 15g
Ingredients
Gather the following ingredients to create your Chocolate Covered Honeycomb:
For the Honeycomb:
- 1 cup granulated sugar
- 1/4 cup light corn syrup
- 1/4 cup water
- 1 tablespoon baking soda
For the Chocolate Coating:
- 8 ounces semisweet chocolate (or milk chocolate for a sweeter flavor)
- 1 tablespoon coconut oil (optional, for a smoother coating)
Ingredient Highlights
- Granulated Sugar: The base for the honeycomb, creating a sweet and crunchy texture.
- Light Corn Syrup: Helps prevent crystallization, ensuring a smooth honeycomb.
- Baking Soda: Creates the airy bubbles in the honeycomb, giving it that delightful crunch.
- Chocolate: Rich and creamy, it pairs perfectly with the sweetness of the honeycomb.
Step-by-Step Instructions
Follow these steps to create your Chocolate Covered Honeycomb:
Prepare the Honeycomb
- Prepare the Baking Sheet: Line a baking sheet with parchment paper and set aside.
- Combine Ingredients: In a medium saucepan, combine the sugar, corn syrup, and water. Stir over medium heat until the sugar dissolves.
- Cook the Mixture: Increase the heat to high and bring to a boil without stirring. Cook until the mixture reaches a golden amber color (approximately 300°F / 150°C).
- Add Baking Soda: Remove from heat and quickly whisk in the baking soda. The mixture will bubble up vigorously—this is normal!
- Pour onto Baking Sheet: Immediately pour the honeycomb mixture onto the prepared baking sheet. Do not spread it; let it spread naturally.
- Cool: Allow the honeycomb to cool completely (about 20 minutes).
Coat the Honeycomb in Chocolate
- Melt the Chocolate: In a microwave-safe bowl, combine the chocolate and coconut oil. Microwave in 30-second intervals, stirring until smooth and fully melted.
- Break the Honeycomb: Once cooled, break the honeycomb into pieces using your hands or a knife.
- Dip in Chocolate: Dip each piece of honeycomb into the melted chocolate, ensuring it’s fully coated. Place on a parchment-lined tray to set.
- Let Set: Allow the chocolate to harden at room temperature or refrigerate for quicker setting.
How to Serve
Here are some fun serving ideas for your Chocolate Covered Honeycomb:
- On a Dessert Platter: Arrange the pieces on a beautiful dessert platter for a stunning presentation.
- Gift in a Jar: Place the honeycomb pieces in a decorative jar for a sweet homemade gift.
- As a Topping: Use crushed honeycomb pieces as a topping for ice cream or cupcakes.
- Mix into Treats: Incorporate honeycomb into cookie batter or brownies for added crunch.
- Pair with Coffee or Tea: Serve alongside a warm beverage for a delightful afternoon treat.
- Create a Snack Board: Include honeycomb on a charcuterie board with cheeses and fruits.
- Wrap Individually: Wrap each piece in cellophane for easy snacking on the go.
- Use in Baking: Chop up the honeycomb and add it to cakes or cookies for a sweet surprise.
- Layer in Parfaits: Add layers of honeycomb to yogurt or pudding for added texture.
- Include in Party Favors: Package in small bags for party favors that guests will love.
Additional Tips
Maximize your enjoyment of Chocolate Covered Honeycomb with these helpful tips:
- Use a Candy Thermometer: For accurate cooking, use a candy thermometer to ensure the right temperature.
- Don’t Stir While Boiling: Avoid stirring the sugar mixture once it’s boiling to prevent crystallization.
- Be Cautious with Baking Soda: Add baking soda quickly, as it reacts vigorously; work fast to avoid overflow.
- Store Properly: Keep honeycomb in an airtight container to maintain its crispness.
- Experiment with Chocolate: Try dark chocolate, white chocolate, or flavored chocolate for different tastes.
- Keep Cool: Store in a cool, dry place to prevent the honeycomb from getting sticky.
- Try Flavor Variations: Add a drop of vanilla extract or other flavorings to the sugar mixture for unique flavors.
- Use a Double Boiler: For melting chocolate, use a double boiler for even heat distribution and to avoid burning.
- Don’t Rush the Cooling: Allow honeycomb to cool completely for the best texture.
- Use Quality Ingredients: Higher quality chocolate will enhance the flavor of your honeycomb.
Recipe Variations
Consider these creative variations for your Chocolate Covered Honeycomb:
- Flavored Honeycomb: Infuse with spices like cinnamon or ginger for a warm flavor.
- Nutty Version: Mix in crushed nuts like almonds or pecans for added crunch.
- Coconut Coating: Roll the chocolate-covered honeycomb in shredded coconut before it sets.
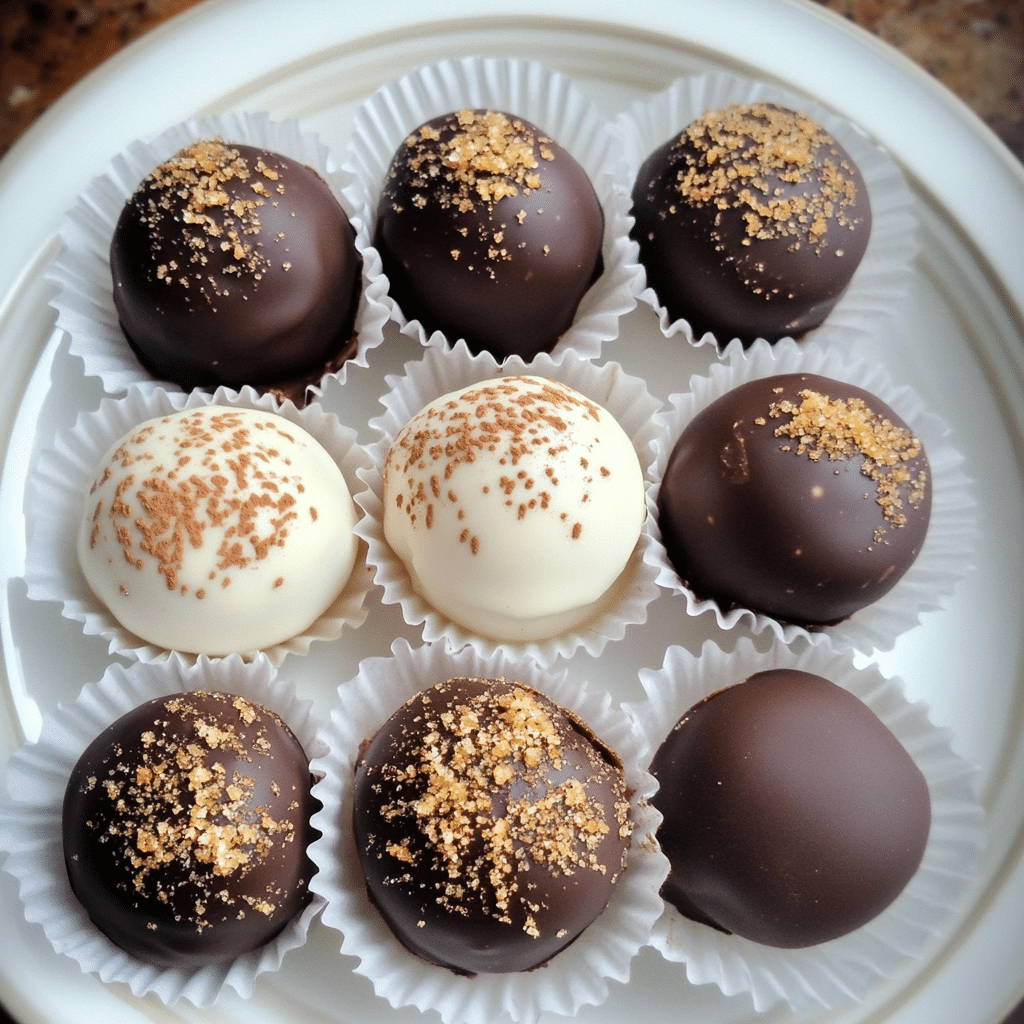
- Layer with Different Chocolates: Dip half in dark chocolate and half in milk chocolate for a beautiful contrast.
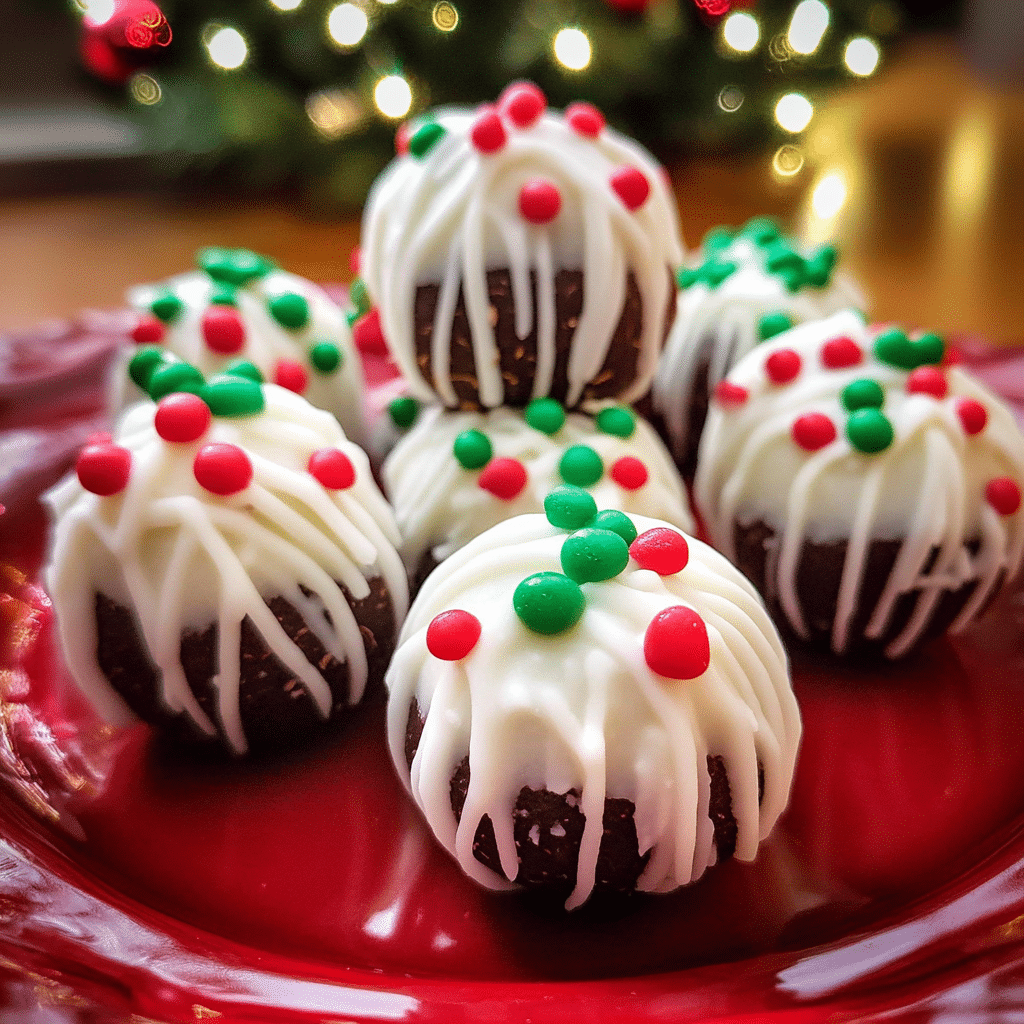
- Use Food Coloring: Color white chocolate with food coloring for festive looks.
- Add Dried Fruits: Incorporate dried fruits like cranberries or raisins into the honeycomb before it cools.
- Spicy Twist: Add a pinch of cayenne pepper to the chocolate for a spicy kick.
- Mini Honeycomb Bites: Make smaller pieces for bite-sized treats that are perfect for parties.
- Honeycomb Bars: Press the honeycomb mixture into a pan for thicker bars instead of individual pieces.
- Chocolate Drizzle: After coating in chocolate, drizzle with white chocolate for a decorative touch.
Freezing and Storage
Ensure proper storage to maintain the quality of your Chocolate Covered Honeycomb:
- Storage: Keep honeycomb in an airtight container at room temperature for up to 2 weeks.
- Refrigerate: If in a humid environment, store in the refrigerator to maintain crispness.
- Freezing: While freezing is not recommended due to texture changes, you can keep it in the fridge for a cooler treat.
- Thawing: If refrigerated, let come to room temperature before serving for the best flavor and texture.
Special Equipment
You may need these kitchen tools to create your Chocolate Covered Honeycomb:
- Medium Saucepan: For cooking the sugar mixture.
- Candy Thermometer: To monitor the temperature of the sugar mixture.
- Parchment Paper: For lining the baking sheet.
- Whisk: To mix in the baking soda.
- Microwave-Safe Bowl: For melting the chocolate.
- Serving Platter: To display the finished honeycomb.
FAQ Section
Here are answers to common questions about Chocolate Covered Honeycomb:
- Can I use brown sugar instead of white sugar?
Brown sugar can change the texture and flavor; stick with granulated sugar for best results. - How long can I store the honeycomb?
Store in an airtight container at room temperature for up to 2 weeks. - Can I make honeycomb without corn syrup?
While corn syrup helps prevent crystallization, you can substitute with honey or agave syrup, but the texture may vary. - **What if my honeycomb didn’t puff up?**
Ensure the sugar mixture reached the correct temperature and that baking soda was added quickly. - Is it safe to eat honeycomb?
Yes, honeycomb is safe to eat as long as it is made with food-grade ingredients.

Chocolate Covered Honeycomb
- Total Time: 1 hour
Ingredients
For the Honeycomb:
- 1 cup granulated sugar
- 1/4 cup light corn syrup
- 1/4 cup water
- 1 tablespoon baking soda
For the Chocolate Coating:
- 8 ounces semisweet chocolate (or milk chocolate for a sweeter flavor)
- 1 tablespoon coconut oil (optional, for a smoother coating)
Ingredient Highlights
- Granulated Sugar: The base for the honeycomb, creating a sweet and crunchy texture.
- Light Corn Syrup: Helps prevent crystallization, ensuring a smooth honeycomb.
- Baking Soda: Creates the airy bubbles in the honeycomb, giving it that delightful crunch.
- Chocolate: Rich and creamy, it pairs perfectly with the sweetness of the honeycomb.
Instructions
Prepare the Honeycomb
- Prepare the Baking Sheet: Line a baking sheet with parchment paper and set aside.
- Combine Ingredients: In a medium saucepan, combine the sugar, corn syrup, and water. Stir over medium heat until the sugar dissolves.
- Cook the Mixture: Increase the heat to high and bring to a boil without stirring. Cook until the mixture reaches a golden amber color (approximately 300°F / 150°C).
- Add Baking Soda: Remove from heat and quickly whisk in the baking soda. The mixture will bubble up vigorously—this is normal!
- Pour onto Baking Sheet: Immediately pour the honeycomb mixture onto the prepared baking sheet. Do not spread it; let it spread naturally.
- Cool: Allow the honeycomb to cool completely (about 20 minutes).
Coat the Honeycomb in Chocolate
- Melt the Chocolate: In a microwave-safe bowl, combine the chocolate and coconut oil. Microwave in 30-second intervals, stirring until smooth and fully melted.
- Break the Honeycomb: Once cooled, break the honeycomb into pieces using your hands or a knife.
- Dip in Chocolate: Dip each piece of honeycomb into the melted chocolate, ensuring it’s fully coated. Place on a parchment-lined tray to set.
- Let Set: Allow the chocolate to harden at room temperature or refrigerate for quicker setting.
- Prep Time: 15 min.
- Cook Time: 25 min.
Nutrition
- Serving Size: 12 pieces
- Calories: 150 kcal
- Sugar: 10g
- Fat: 8g
- Carbohydrates: 15g
Conclusion
I can’t wait to see how your Chocolate Covered Honeycomb turns out! This sweet, crunchy treat is not only a fun project in the kitchen but also a fantastic gift or party snack. As you dive into making this deliciousness, remember to enjoy the process and maybe even get the kids involved—it’s a great way to share some fun and create sweet memories together!
Once you’ve finished, I’d love to hear all about your experience. Did you experiment with flavors or maybe add a sprinkle of sea salt for that extra touch? Leave a comment below and share your tips and tricks! And don’t forget to snap a photo of your chocolate-covered masterpiece and tag me on Instagram—I truly love seeing your delicious creations!
So gather your ingredients, put on your favorite tunes, and have fun in the kitchen. Happy cooking!

